update: 2017/03/24
reference:
1. How to create a simple 360 VideoSphere in Unreal Engine | vrobot
Unreal 版本: 4.13 ~ 4.15
A. 新增專案
1. 新增一個 Blank 的 Blueprint 專案


a. 下載 360° Videos - YouTube (在此使用 Experience Vivid Sydney)
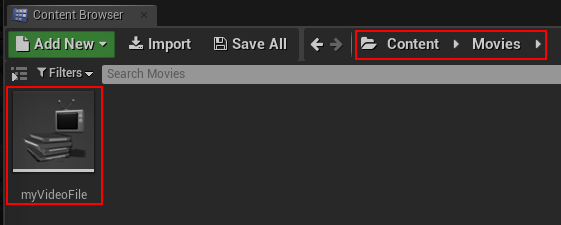
b. 將影片放入 Movies 資料夾內: (以確保影片檔能正確被封裝)


-----------------------------------------------------------------------------------------------
B. 專案內容新增 "多媒體檔"
1. 點選 Content > Movies 資料夾:
Add New > Media > File Media Source


C. 專案內容新增 "媒體播放"
1. 點選 Content > Movies 資料夾:
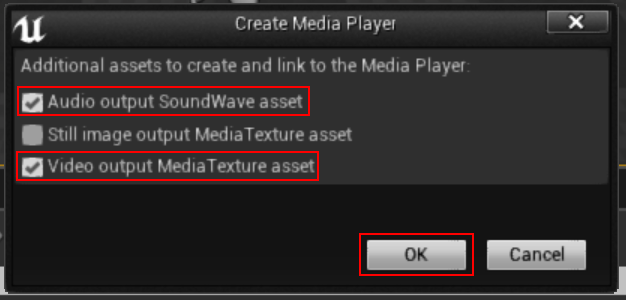
Add New > Media > Media Player

Audio output SoundWave asset
Video output MediaTexture asset
> OK
3. 取名為: MyMediaPlayer, 結果:

檢查右下方的 Sound Wave 與 Video Texture 設定.

1. 檢查 Media Texture

2. 由此 Media Texture 來建立 Material


UTiling: -1.0
VTiling: 1.0

R: -1.0
G: 1.0


-----------------------------------------------------------------------------------------------
E. Level Blueprint
1. 開啟 Level Blueprint


先 Compile 後, 設定好預設的 Media Player

4. 將 360Video 變數拖拉(Ctrl 鍵?)到 Event Graph 裡, 新增 Open Source Node,
並設定其 Media Source (在此為: my360File)

-----------------------------------------------------------------------------------------------
F. 新增圓球體
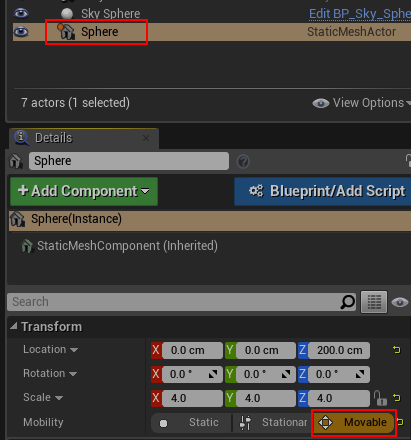
1. 將一個 Sphere 拖拉到場景內:


-----------------------------------------------------------------------------------------------
G. 備註
1. 將 Sphere 跟隨玩家角色移動:
a. 記得要先做 "修正 VR 的地平線水平高度" 的處理:
參考: I touchs: Unreal: Begin A Virtual Reality Project
> C. 修正 VR 的地平線水平高度
b. 將 Sphere 設成 Movable:
c. 修改 Level Blueprint:

a. 說明:
在 Windows 平台, 測試過 MP4, MKV, AVI 與 WMV 影片格式,
其中 AVI 與 WMV 可以 work, 但是 AVI 播起來頓頓的, 所以建議使用 WMV 格式.
p.s. 後來再測試後, 某些 MP4 也可以正常播放.
b. Level Blueprint:

3. 設定影片播放速率:(4.15)