update: 2016/07/03
reference:
1. Le IoT 想想物聯網: Google Nexus 7 Root + Enable BLE
2. Wug’s Nexus Root Toolkit v2.0.4
3. Nexus Root Toolkit v2.1.6 | WugFresh
A. Google Nexus 7 規格 (2012 WIFI)
B. 安裝 Nexus Root Toolkit
從 Nexus Root Toolkit v2.1.6 | WugFresh 下載 NRT_v2.1.6.sfx.exe 並安裝
-----------------------------------------------------------------------------------------------
C. Model Type
1. 安裝好後, 執行桌面的 Nexus Root Toolkit:
> device: Nexus7 (Wi-Fi Table)
> build: Android 5.1.1
> Apply
3. Download + Update All File Dependencies
-----------------------------------------------------------------------------------------------
D. Initial Setup:
1. 點選: Full Driver Installation Guide - Automatic + Manual
> 點選 "Google Drivers"
-----------------------------------------------------------------------------------------------
E. Unlock
> 點選 "Unlock"
> 確定
> (next)
> (next)
F. Root
> 點選 "Root"
> 確定
> 確定
G. Nexus 7: SuperSU & BusyBox
1. 確認在 Nexus 7 上有 SuperSU 與 BusyBox 的 app 圖示了
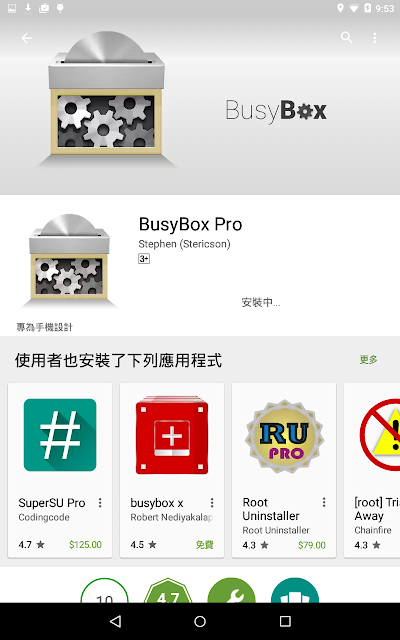
3. 由於執行 BusyBox Free 不太順利, 所以直接買 BusyBox Pro ($64 NT)來試試:
BusyBox Pro - Google Play Android 應用程式

4. 成功了~
H. Enable: Bluetooth Low Energy
> 直接購買: Bluetooth Low Energy Enabler - Google Play Android 應用程式
($300 NT)
I. BLE (Bluetooth low energy)測試
1. BLE 檢測軟體:
BLE Checker - Google Play Android 應用程式
Beacon Scanner & Transmitter - Google Play Android 應用程式
> 掃描中...
> 結果


沒有留言:
張貼留言
注意:只有此網誌的成員可以留言。